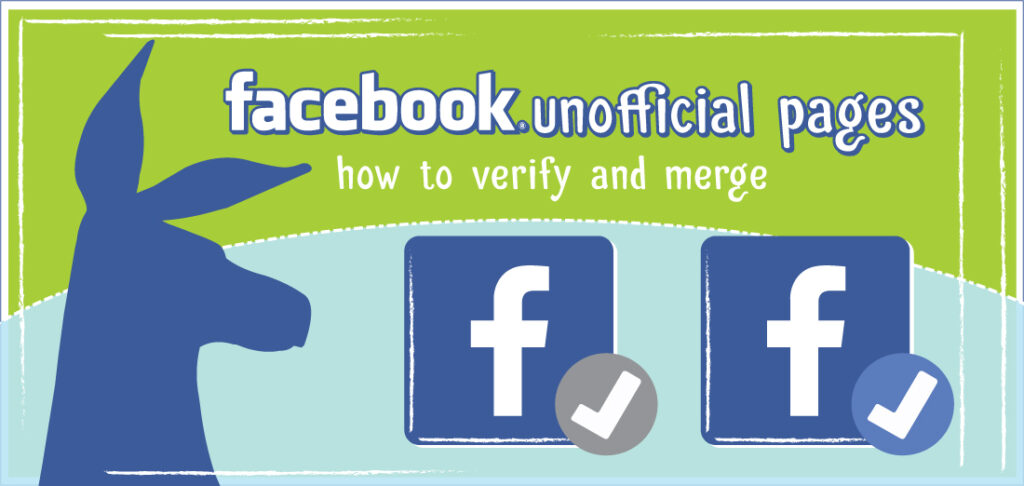

Verifying a Facebook Page:
Alright let’s get down to Business! Facebook Business that is. A question we get all the time is How to go about verifying your Facebook Page. If you don’t currently manage a Facebook Page then there is a very good chance one exists for your business, either created by someone not connected to your business, by someone who used to be affiliated with your Business or by Facebook itself.
Step 1: Make sure you are your Business’ Facebook Page Admin.
Step 2: Determine what Category your Facebook Page under.
If your Page’s category is Local Businesses or Companies & Organizations, your Page may be eligible for a gray verification badge. This Badge is Facebook’s way of saying to the internet user world – “Hey, we checked these guys out and this company is legit! If you are your Facebook Page’s admin, your Page has a profile picture and cover photo, and is eligible, you’ll see this option in your Page’s Settings. To verify your Page, you can use your business’ publicly listed phone number or a business document like a phone bill.
Step 3: Verify your page
To verify your Page: Click Settings at the top of your Page
From General, click Page Verification
Click Verify this Page, then click Get Started
Enter a publicly listed phone number for your business, your country and language
Click Call Me Now to allow Facebook to call you with a verification code
Enter the 4-digit verification code and click Continue
If you prefer to verify your Page with a business document, follow the steps above and click Verify this Page with documents instead at the bottom left of the window that appears, then upload a picture of an official document showing your business’ name and address.
After Facebook receives your verification code or business document, they’ll review your info to confirm that it matches public records and send you a notification or email about your verification status within a few days.
How to Merge Facebook Pages:
If you’ve got two or more Facebook Pages for the same business it’s crucial you clean those up. The best way to do so is to merge them into one main Business Page. This eliminates confusion for those checking out your page and makes sure all content is verified by you the Facebook Admin.!
If you have 2 Facebook Pages for the same business, you may be able to merge them if:
- You’re an admin of both Pages
- Your Pages have similar names and represent the same thing
- Your Pages have the same address, if they have physical locations
To merge your Pages: Go to facebook.com/pages/merge
Select the two Pages you want to merge and click Continue
Then select the Page you want to keep and click Keep Page
Click Request Merge
If you’re unable to merge your Pages, it means that your Pages aren’t eligible to be merged. If you see the option to request to merge your Pages, Facebook will review your request.
Important to Note: If your Pages can be merged, the people who like your Pages and any check-ins will be combined, but posts, photos, reviews, ratings and the username will be deleted from the Page you merge. The Page you want to keep will remain unchanged, except for the addition of people who like the Page and check-ins that were merged from the other Page. The Facebook Unofficial Pages you don’t want to keep will be removed from Facebook, and you won’t be able to unmerge it.